


Sale Flooring Direct Blog
How to Lay Vinyl Flooring
Posted: 18th December 2020
Vinyl flooring has soared in popularity over the last number of years due to its versatility and low maintenance. It’s also an affordable, practical flooring solution that can work well in bedrooms, bathrooms, kitchens, halls and even living rooms. Vinyl comes in a selection of authentic-looking finishes such as stone, ceramic tiles, limestone, oakwood and more.
Installing a new floor is a great way to improve the look of any room in your home and thankfully, it isn’t a project you have to do very often. In this article, we will cover everything you need to know about laying vinyl flooring. But before you jump right into purchasing vinyl flooring, you want to be sure that it’s the right choice for you.
What is vinyl flooring?
Vinyl flooring is a synthetic flooring solution that is durable, affordable and easy to install and is often commonly confused with other types of flooring such as laminate flooring. One of the most popular choices for vinyl flooring is luxury vinyl tile as it’s versatile and give that realistic wood plank or stone tile appearance at a fraction of the price.
What’s the difference between laminate and vinyl flooring?
Unlike vinyl flooring, laminate flooring contains some wood which is why laminate flooring is vulnerable to moisture and humidity. Laminate flooring is typically sold in planks that snap together to achieve the look and feel of hardwood floors.
Different types of vinyl flooring
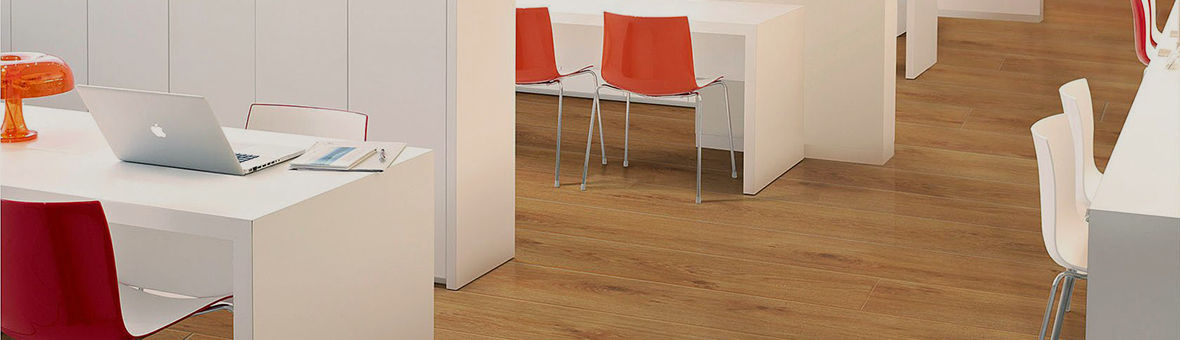
Installing vinyl floor in your home looks like wood or tile but with the advantages of lower prices and being softer underfoot. There two types of vinyl flooring:
Tile
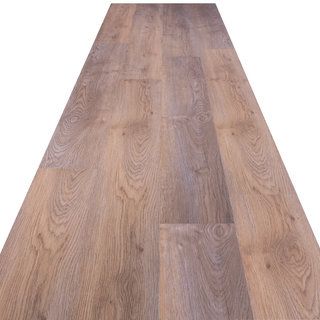
Vinyl tile flooring is available in a range of colours, shapes and sizes with one of the most recognisable types being Luxury Vinyl Tiles, otherwise known as LVT flooring. Vinyl tiles are now increasingly popular as they are a cost-effective alternative to wood or stone. The realistic look of the vinyl tiles means it is extremely hard wearing and can take the heavy footfall in your home.
Sheet
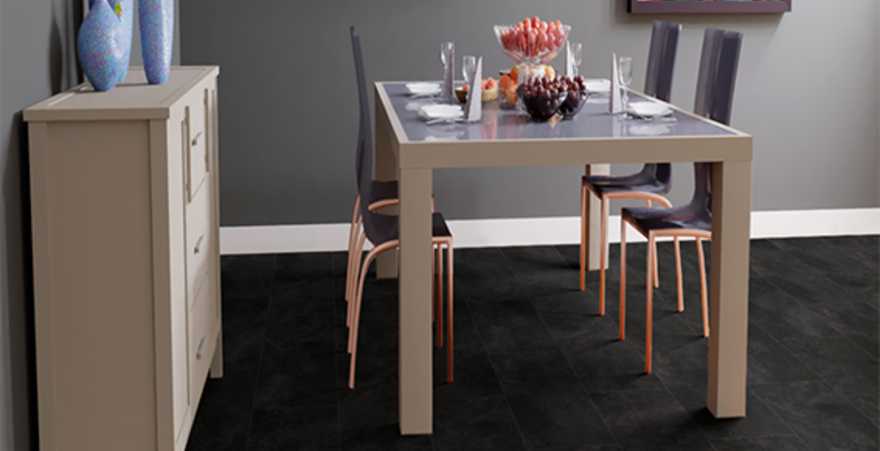
Sheet vinyl flooring is also commonly referred to as cushion vinyl flooring due to the fact it is softer than vinyl tiles. However, sheet vinyl tends to not offer as much of a realistic hardwood floor look since there are no lines between the boards. There are a variety of finishes available to choose from to help you achieve the look of hardwood or tiled flooring.
Is vinyl flooring right for your home?
Before you purchase vinyl flooring, you want to be sure it’s the right choice for you and your home. Many benefits come with vinyl flooring such as durability which allows for it to be installed almost anywhere in the home. Often, people may worry about installing vinyl flooring with pets, but thankfully the durability of the floor means it can withstand the wear from pet nails. It’s also a great option for a kid’s playroom as vinyl flooring is very easy to maintain.
How to install vinyl flooring
Vinyl is an incredibly versatile flooring solution and if installed correctly, it will look good for years to come. If you want to achieve the best finish possible, you should consider using a professional floor fitter but if you would like to fit it yourself, we’re here to help! We have packed this guide out with expert advice to make sure the process goes smoothly.
Preparation
As with any DIY project, preparation is key. Clear all of your furniture out of the room before you begin. If you haven’t done so already, be sure to completely lift your existing flooring, there are cases where some vinyl may be able to be installed over the top of your existing flooring solution but this is not recommended. Before installing your vinyl flooring, leave it in the room of installation and out of the packaging at least 24 hours before laying the floor to allow it to acclimatise.
Tools required to lay vinyl flooring
There are many methods for installing different formats of vinyl flooring, but here are the tools we recommend for installing your floor:
Sheet Vinyl Tools:
- Measuring tape
- Pencil
- Scissors or Stanley knife
- Straight edge
- Vinyl adhesive
- An adhesive trowel
- Lining paper
- Home-made scribing gauge
LVT Tools:
- A Tape Measure
- Spirit level
- LVT Underlay
- Ruler
- Pencil
- Stanley Knife or Saw
- 7-10mm Spacers
- Rubber mallet
- Prepare the subfloor
As we mentioned, you want to remove all furniture, any fixtures or fittings, and the existing floor coverings to ensure they are not going to get in the way of you fitting your vinyl flooring. Sweep your floor of any debris and then determine your floor’s layout. Make sure to stagger the seams for a stronger, better-looking floor. Set up a sample layout on your floor before installation to be sure you like it and offset the pattern to avoid repeats.
Sheet vinyl is a relatively soft flooring solution so any bumps on the subfloor will show, use a levelling compound if needed to help achieve a smoother surface. When your subfloor is fully dried and the flooring has acclimatised for 24 hours out of the packaging, you are ready to begin.
How to lay sheet vinyl
If you decide to fit sheet vinyl, you want to use a single sheet where possible as this will look better and reduces any potential wear and tear on the edges.
Unroll your vinyl and place the longer side of the sheet parallel to the longest wall in your room and keep a distance of 25mm from your skirting. To achieve the desired fit of the vinyl against your skirting, you want to trace the skirting onto your vinyl. This is important as in some cases it will not be completely straight.
You then want to take a small piece of wood and hammer a nail in around 30mm from one end so it is just sticking through the other side, use the gauge up against the skirting to trace the skirting onto your flooring before cutting.
It’s recommended to cut a small triangular section at each corner of out the excess allowance from your measurements as this will allow the vinyl to lie completely flat. Using a straight edge, you can then start to cut along the crease preferably using a sharp knife.
For external corners, cut down the vinyl edge in a straight line to the floor and cut away the excess, but be sure to leave around 50mm or more turned up at the skirting boards.
Once the whole sheet is then down and you have carried out the above, you are ready to lift the edges and stick down to the subfloor with a vinyl adhesive.
How to lay LVT flooring
LVT flooring installation processes differ from sheet vinyl as you can opt for what’s known as a floating installation. This means you use an underlay to bed the flooring in rather than using an adhesive to glue the floor down, to do this correctly preparing your subfloor is extremely important.
Once all necessary prep work is completed and underlay is down, you can then install your luxury vinyl tiles:
Familiarise yourself with the tiles, you want to use the shorter side up against the wall and the long side away from the wall. Spacers can help you separate the gap you want to leave from the wall.
Once the first plank is in place, add the next plank with the end joints first and apply pressure until the join is flat. Use can also use a rubber mallet to secure the joints. Continue this until the entire row is installed.
You want to stagger the arrangement to keep it looking as natural as possible. This will require pieces of tile to be cut.
Continue this process fitting from left to right, row by row.
Adding skirting or beading
It’s up to you whether you decide to add skirting or beading around the perimeter of the room to finish the look and protect your vinyl. Here at Sale Flooring Direct, we have a range of skirting boards in both 3 inches and 5 inches, to complement your vinyl flooring.
Maintenance
To keep vinyl floors in good condition you want clean regularly, In areas of the home where there is high-traffic you want to sweep or vacuum your floors daily to remove any dirt and grit that has the potential to damage the floor. Any spills or pet accidents must be wiped up immediately to prevent staining to your floor which can be difficult to remove. You also want to thoroughly mop the floors regularly.
For more information on vinyl flooring, get in touch with Sale Flooring Direct now!

