


Sale Flooring Direct Blog
How to lay laminate flooring – The DIY guide
Posted: 12th April 2019
Wondering how to lay laminate flooring yourself without having to fork out extra for installation? We’ve compiled this handy guide for the DIY fanatic on how to lay your floor without the need for expert installation.
While in a lot of cases it makes more sense for a seasoned flooring expert to handle your laminate flooring installation, laying it yourself is an option for people who have a decent level of knowhow for home renovations.
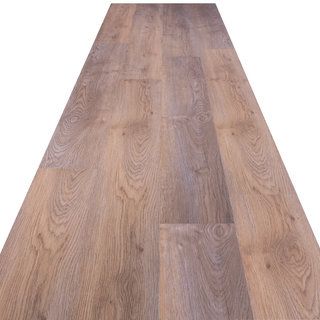
Several laminate flooring products are manufactured for easy installation, including brands like Kronotex and Egger.
Follow this DIY guide and you will have a perfectly laid laminate floor in no time.
Measure
Measure exactly what you need in terms of square metres to cover the area of the floor you want to lay on
Always order around 10% more than the total area measured in order to account for errors and extra coverage.
Acclimatise
Acclimatisation is perhaps one of the most important aspects of the installation process, which can cause serious appearance and functionality issues down the line if not taken into consideration.
For at least two full days before you plan to lay the laminate floor ensure that the flooring you are going to lay is kept in the room where you are going to lay it.
Ensure that temperature and moisture levels are consistent during the acclimatisation period, as any significant changes in these could alter the look and feel in days or weeks to come.
Prepare
Make sure that what’s under the floor is in good condition and is level. Slightly uneven surfaces can be sanded or levelled with a leveller before starting to put the underlay in place.
Choosing a solid underlay is an important part of the process as it allows the laying of the laminate floor itself to go smoothly. For larger rooms the underlay should be placed in the opposite direction to the floorboards
Cut
After laying your underlay product, ensure that you have the correct parts of the laminate floor marked out ahead of time.
It is advisable to use different saw for different cutting lines, for example using a circular saw for long lies and a jigsaw for more particular parts where you have to cut around fixtures and fittings.
Fit
After laying the underlay, you can begin the process of clicking the floorboards together, starting at a straight wall with a half board before continuing with full boards.
Most laminate floors operate on a click based system, which makes it a lot easier for DIYers to complete the laying of a laminate floor themselves.
When the floor itself has been installed you can hide the perimeter gap with beading or skirting boards that should be at least 12mm thick to allow for any shrinkage.

